Creating A Gallery
 Event Gallery Subscription Required | Step By Step Instructions
 Your Galleries
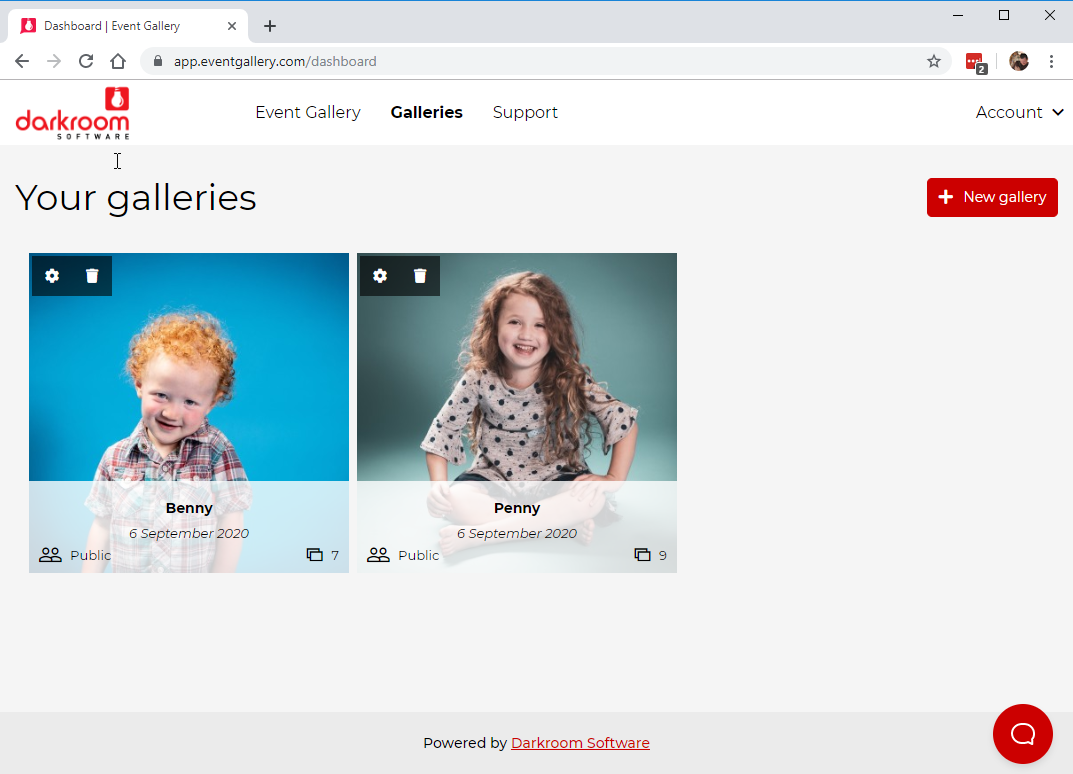
Start from the page where you view your galleries.
To get back to this page, click 'Galleries' from the top navigation bar in the app.Once on this page, to create a gallery press the '+New Gallery' button in the top right.
New Gallery - Main Settings
There are a number of fields you will be asked to add details into in order to create your gallery.Gallery Name
Name your gallery. If you are using Darkroom Booth for iPad, make sure to name your gallery the same as your event so that the photos will transfer automatically.Event Date
Select a date for the event from the calendar view.Client Site URL
Add to the end of your URL to form a path to the gallery. Your clients will use this URL to access the gallery, so it may be best using the event name.
e.g. https ://yourdomain.eventgallery.com/Lauras18th
Description
Here you can use the free text entry box to add a description for the gallery.Footer
Pro feature
You can add custom footers to the bottom of your gallery. This could have your company name and details.Display Gallery on Homepage
Toggle on or off.
You can hide your gallery from your homepage for more private events. By default, this will be toggled on.Access Gallery by URL
Toggle on or off.
Choose whether you would like the gallery to be accessed by the client site URL. By default, this will be toggled on.Individual Image Download
Toggle on or off.
Choose whether or not you would like those accessing the gallery to be able to download individual images. By default, this will be toggled on.Enable Gallery Download
Toggle on or off.
If you choose to enable full gallery download, you have the option to add a password for security. By default, this will be toggled off.Password Protection
Toggle on or off.
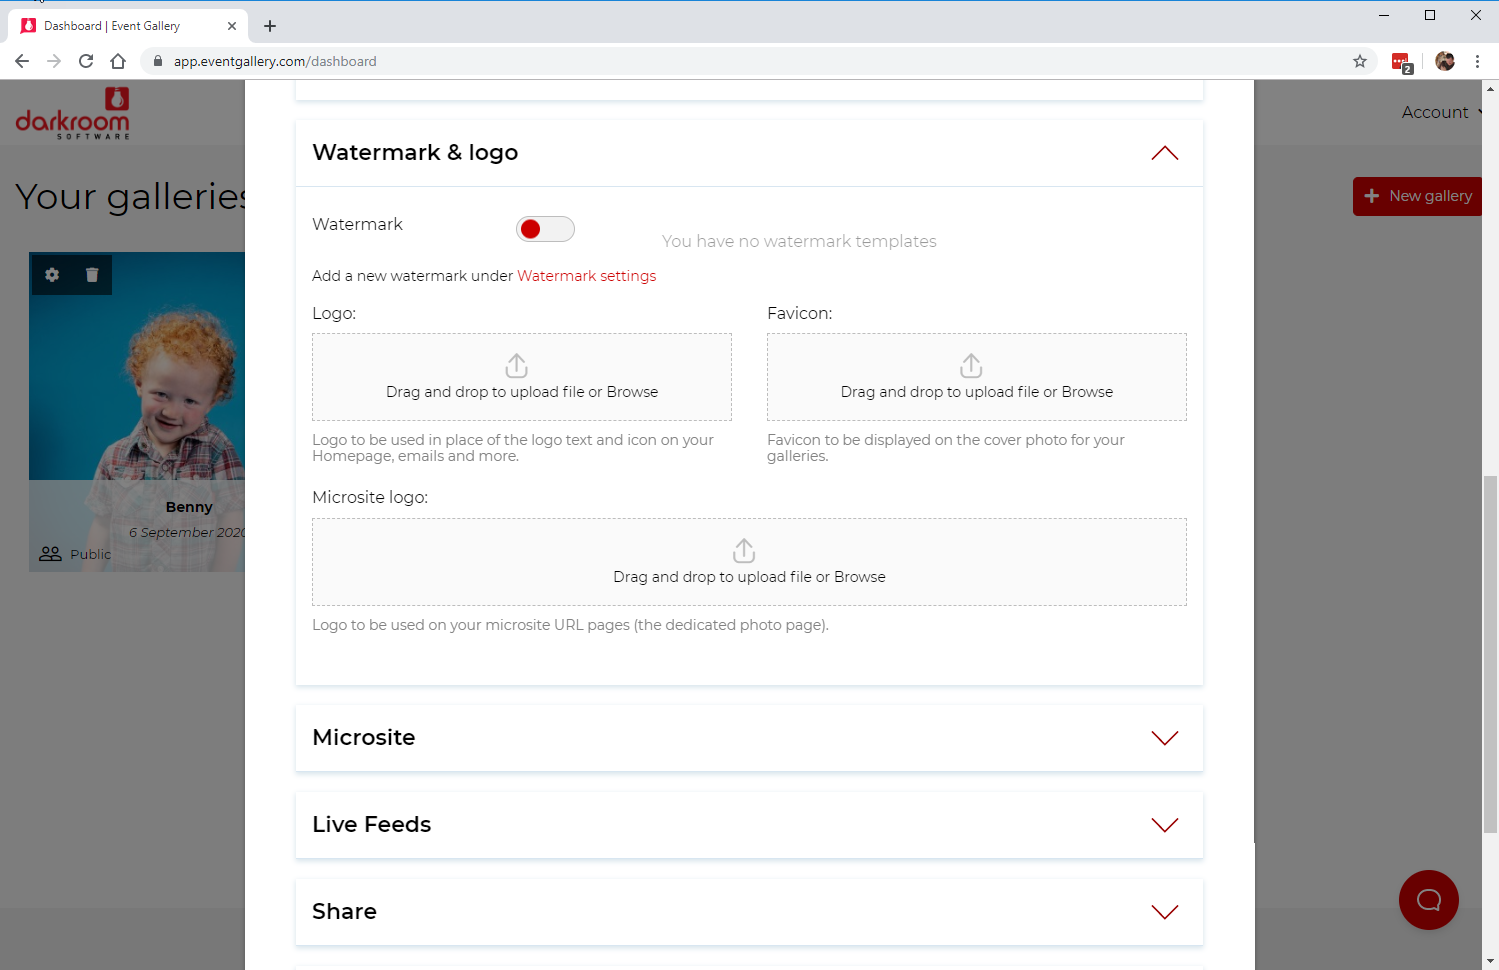
You can add a password which will be required to view the whole gallery. By default, this will be toggled off.Watermark Visibility
Pro feature
Toggle on or off.
If you wish to add a watermark to all images that go into your gallery, toggle this button on and select your template from the drop-down menu.
New Gallery - Advanced Settings
There are a number of advanced settings that you may like to set for your gallery.
Email From Name
Pro feature
Add a name that will appear on the email when guests share their images. This could be your business name or your own name.Reply-To Email
Pro feature
Enter the email address that you would like guests to be able to reply to after they receive their image.Pictures Sort Order
Select from a drop-down menu how you would like your images to show.
Options:
- Date uploaded (newest to oldest)
- Date uploaded (oldest to newest)
- File name (A to Z)
- File name (Z to A)
Download with Watermark
Pro feature
Toggle on or off.
If toggled on, all images download will show the watermark you selected. By default, this is toggled on.Show Breadcrumb Navigation
Toggle on or off.
Shows the user the path they took to get to where they are. By default, this is toggled on.Sharing Methods
Tick or uncheck the social sharing methods you would like guests to be able to use.Options:
- Facebook Messenger
- Copy URL
Image Page Settings
Tick or uncheck all the page settings that you would like to show.Options:
- Show gallery name
- Show gallery link
- Show author
- Show date
- Enable logo link
Custom Logo Link
Add the link you would like your logo to lead to.Logo
Pro feature
Upload your logo to add to your gallery.Favicon
Pro feature
Upload your favicon which will show on the tab of your gallery.Microsite Logo
Pro feature
Upload your microsite logo.Live Feed
Enable or disable Live Feed for your gallery.
Once enabled, you have a few options to manage how the live feed will run.Options:
- Pictures duration
- Logo duration
- Logo animation duration
- Background color
- Display order (Newest first, pictures mix, or random order)
You can also upload a logo to be shown on the live feed.
4. Create
Once satisfied with your gallery settings, press 'Create'.
Related Articles
Live Gallery Feed- Updated
The Live feed option is a great way to display your images at an event. The slideshow-like display will automatically update with new images as they are uploaded to Event Gallery. This option works well with a large display or projector. On Darkroom ...Adding Watermark Templates
Event Gallery Subscription Required | Step By Step Instructions Adding ...Gallery Statistics
Event Gallery Subscription Required | Step By Step Instructions ...How to Embed a Gallery on Your Website
Video Step by step instructions 1.Access the embed code section for your gallery. 2.Generate the embed code. 3. Copy your code into a custom HTML block on your page or post. Here is the sample code used in the instructions above. <html><div ...Downloading Options in Event Gallery
(A) Download Images- This option allows the user to download individual images. (B) Download with watermark- Enabling this option will apply a watermark to the downloading images. A watermark selected in the "watermark and Logo" section. (C) ...